So my friend Sam recently started a new recipe blog, and I felt compelled to share it with you. It’s called ‘The Aproneer‘ (very unsurprisingly given the title of the blog post).
A few of the recipes I’ve tried and liked so far:
- Sausage and Egg Muffin (fancy Maccas, what’s not to love)
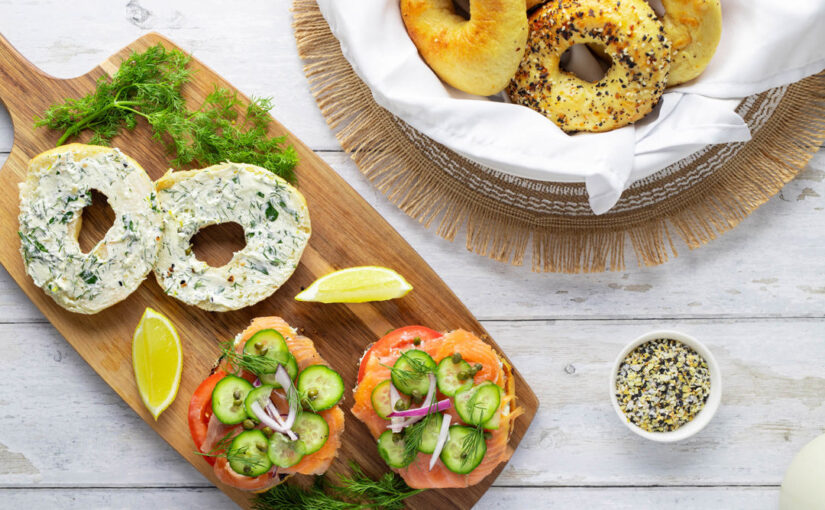
- Smoked Salmon Bagels
- Greek Chickpea Soup
And yes, I realize this is a shameless plug. But the recipes are genuinely tasty, and well-written to boot. I recommend a follow (via RSS or social media)!